Ok, two things to tell you:
One, after living in this house for two months, I almost have the living room complete. Cue the Hallelujah chorus.
Two, I have had a recent obsession with brightening
things up. I don't know why, but I want everything in my house to be white, white, white. Light, light, light.
In our living room, I have a shelf that holds the collection of knicky-knacky things that I love too much not to display. A pair of
Korean ducks that a friend gave us as a wedding gift while he was teaching in South Korea. An antique bird cage that my mom bought me for my birthday. Hand-bound family recipes (OLD ones) from The Boy's aunt. Our wedding verse, written in Chinese, from my maid of honor while she was living overseas. Okay, maybe it's a shelf for our international wedding gifts, but whatevs. You get the general idea.
The problem is that most everything on the shelf is dark and wooden. And the shelf is dark and wooden. And I felt depressed when I looked in that corner because you CAN'T SEE ANYTHING. Darkness...uuuggghhh, I hate you.

This picture may not look that bad, but it really is. It was sad. So what's a girl to do? I'm all about sprucing things up, but sometimes I don't want it to be too permanent in case I change my mind later, which I almost certainly will. In that case, paint wouldn't do. Fabric? Only I didn't want to glue/staple it on, because of that whole "nothing too permanent" rule. And then I found a piece of posterboard. Cha-ching! Perfect.

I just cut the posterboard to the exact size of the inside of the bookshelf, covered it with some fabric and glued the edges down along the back (xoxo spray craft glue!). Then I inserted it into my bookshelf. The individual shelves hold it against the back, so there's no need to attach it. Nifty, eh?

Much better. Also - totally by accident, the fabric is almost identical to the wall color. I wasn't sure if I'd like that, but it flows so much better. Your eye doesn't get caught on a busy fabric or a contrasting paint color, it just shows off my beauties!

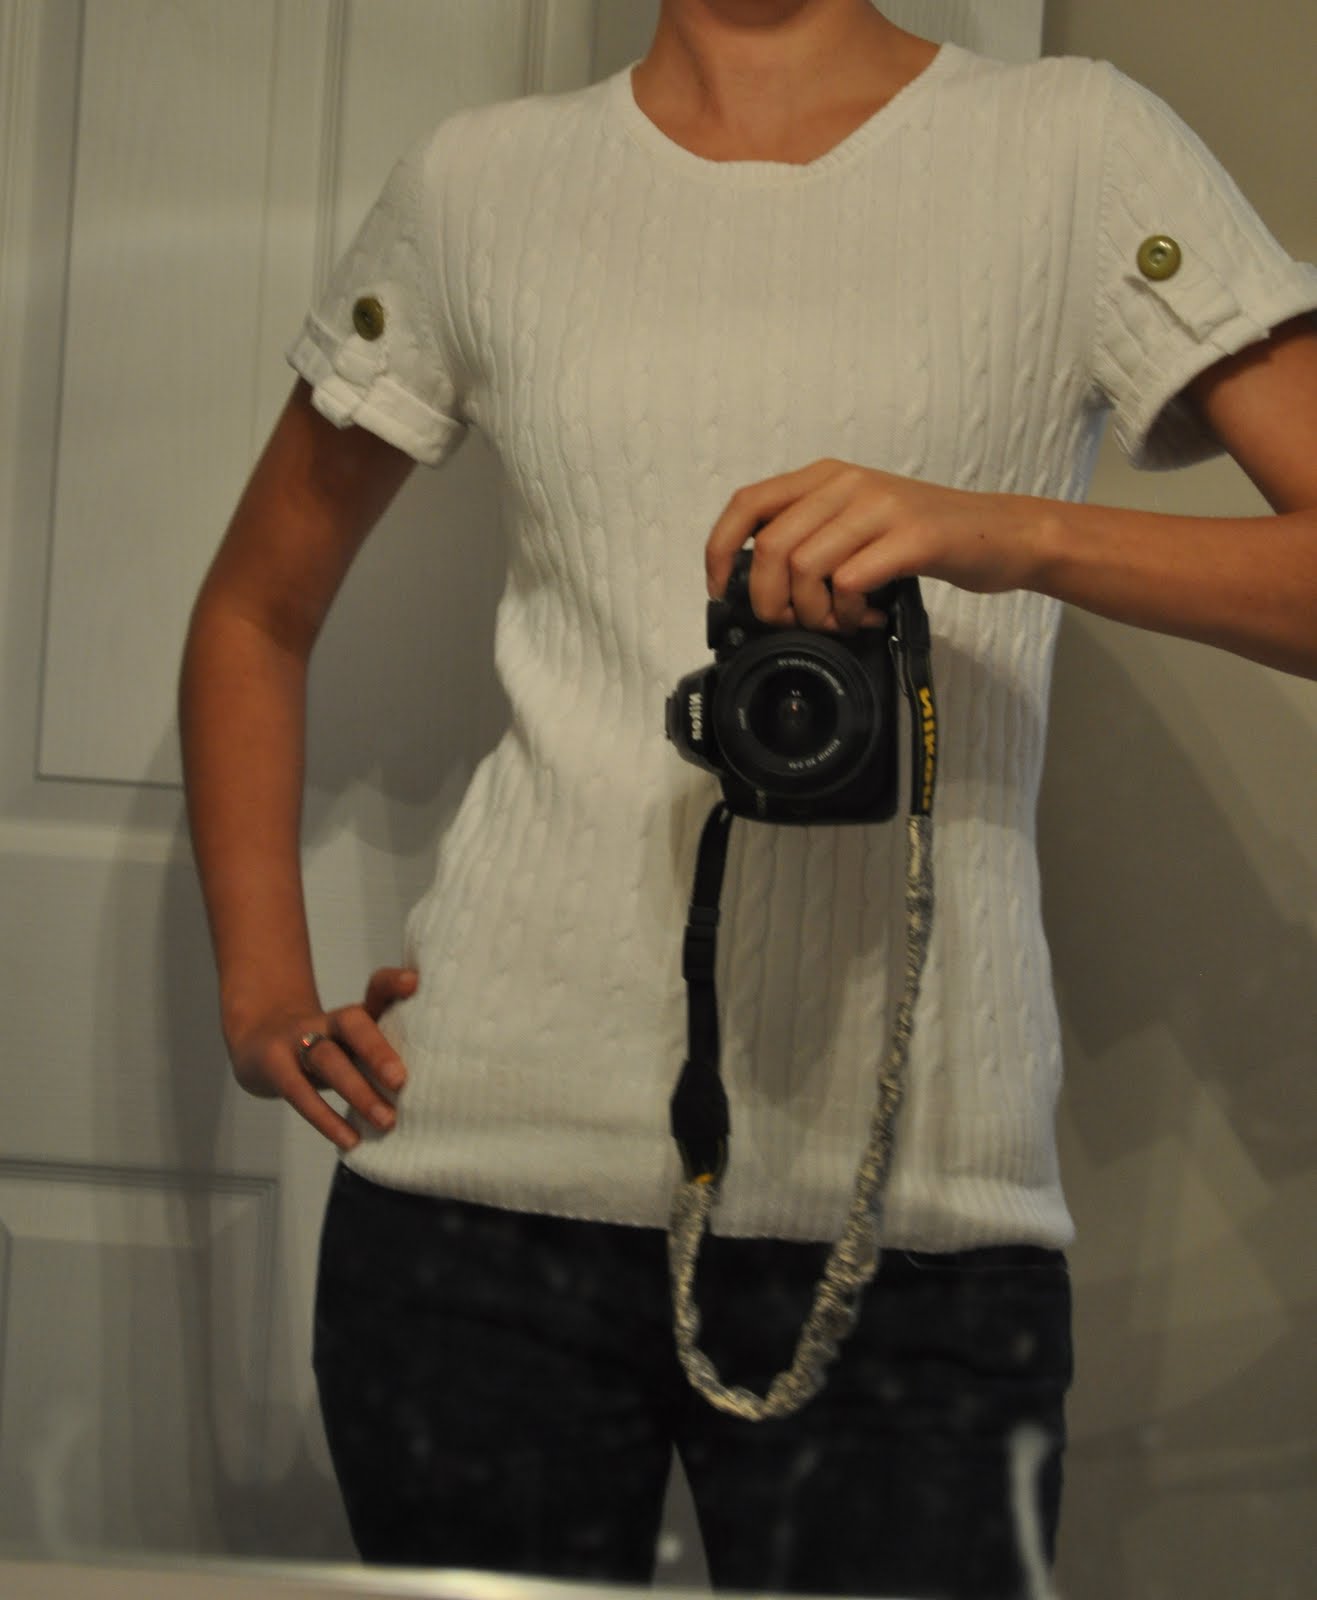
 While we were out this weekend, I accidentally wandered into the Gap to see what their sales were like. That's when The Boy said: "Now that you've gotten into sprucing up old things to make them usable again, you should do that with clothes, too." [Read: Can we please leave this store?] But hey, maybe he's on to something...

 Technical, I know. I added three inches and cut it right off, saving the scraps for the cuff and a future project.
 I rolled the sleeves up and stitched them in place. Then I sewed on the strip to hold the cuff, along with the adorable button.
 Later, I realized that I should have put the button in the middle of the sleeve, not the front but meh...what can you do? Better luck next time :)
 It'll be cuter when there's a shirt underneath, so just go with it :)

 The good news is, I work from home. So unless I run out to check the mail or water the plants, I won't know that it's 92 degrees outside. This might be the exact definition of denial. Perhaps. Don't care :)


 This is what happened: I finished setting up my home office. And my office shares the space with my craft room. And in the process of straightening things up on my desk, I stumbled into the craft side and started feeling a little jittery. Like I needed to do something. So I scanned through my blog roll for the day and saw two things. Two beautiful bits of inspiration: